

*Warning: pictures of rabbit hides below
It turns out when you start raising meat rabbits, you just might end up with bags of poorly labeled rabbit hides in your freezer. Luckily, I’ve wanted to work with rabbit hides since the idea of raising rabbits first came up.
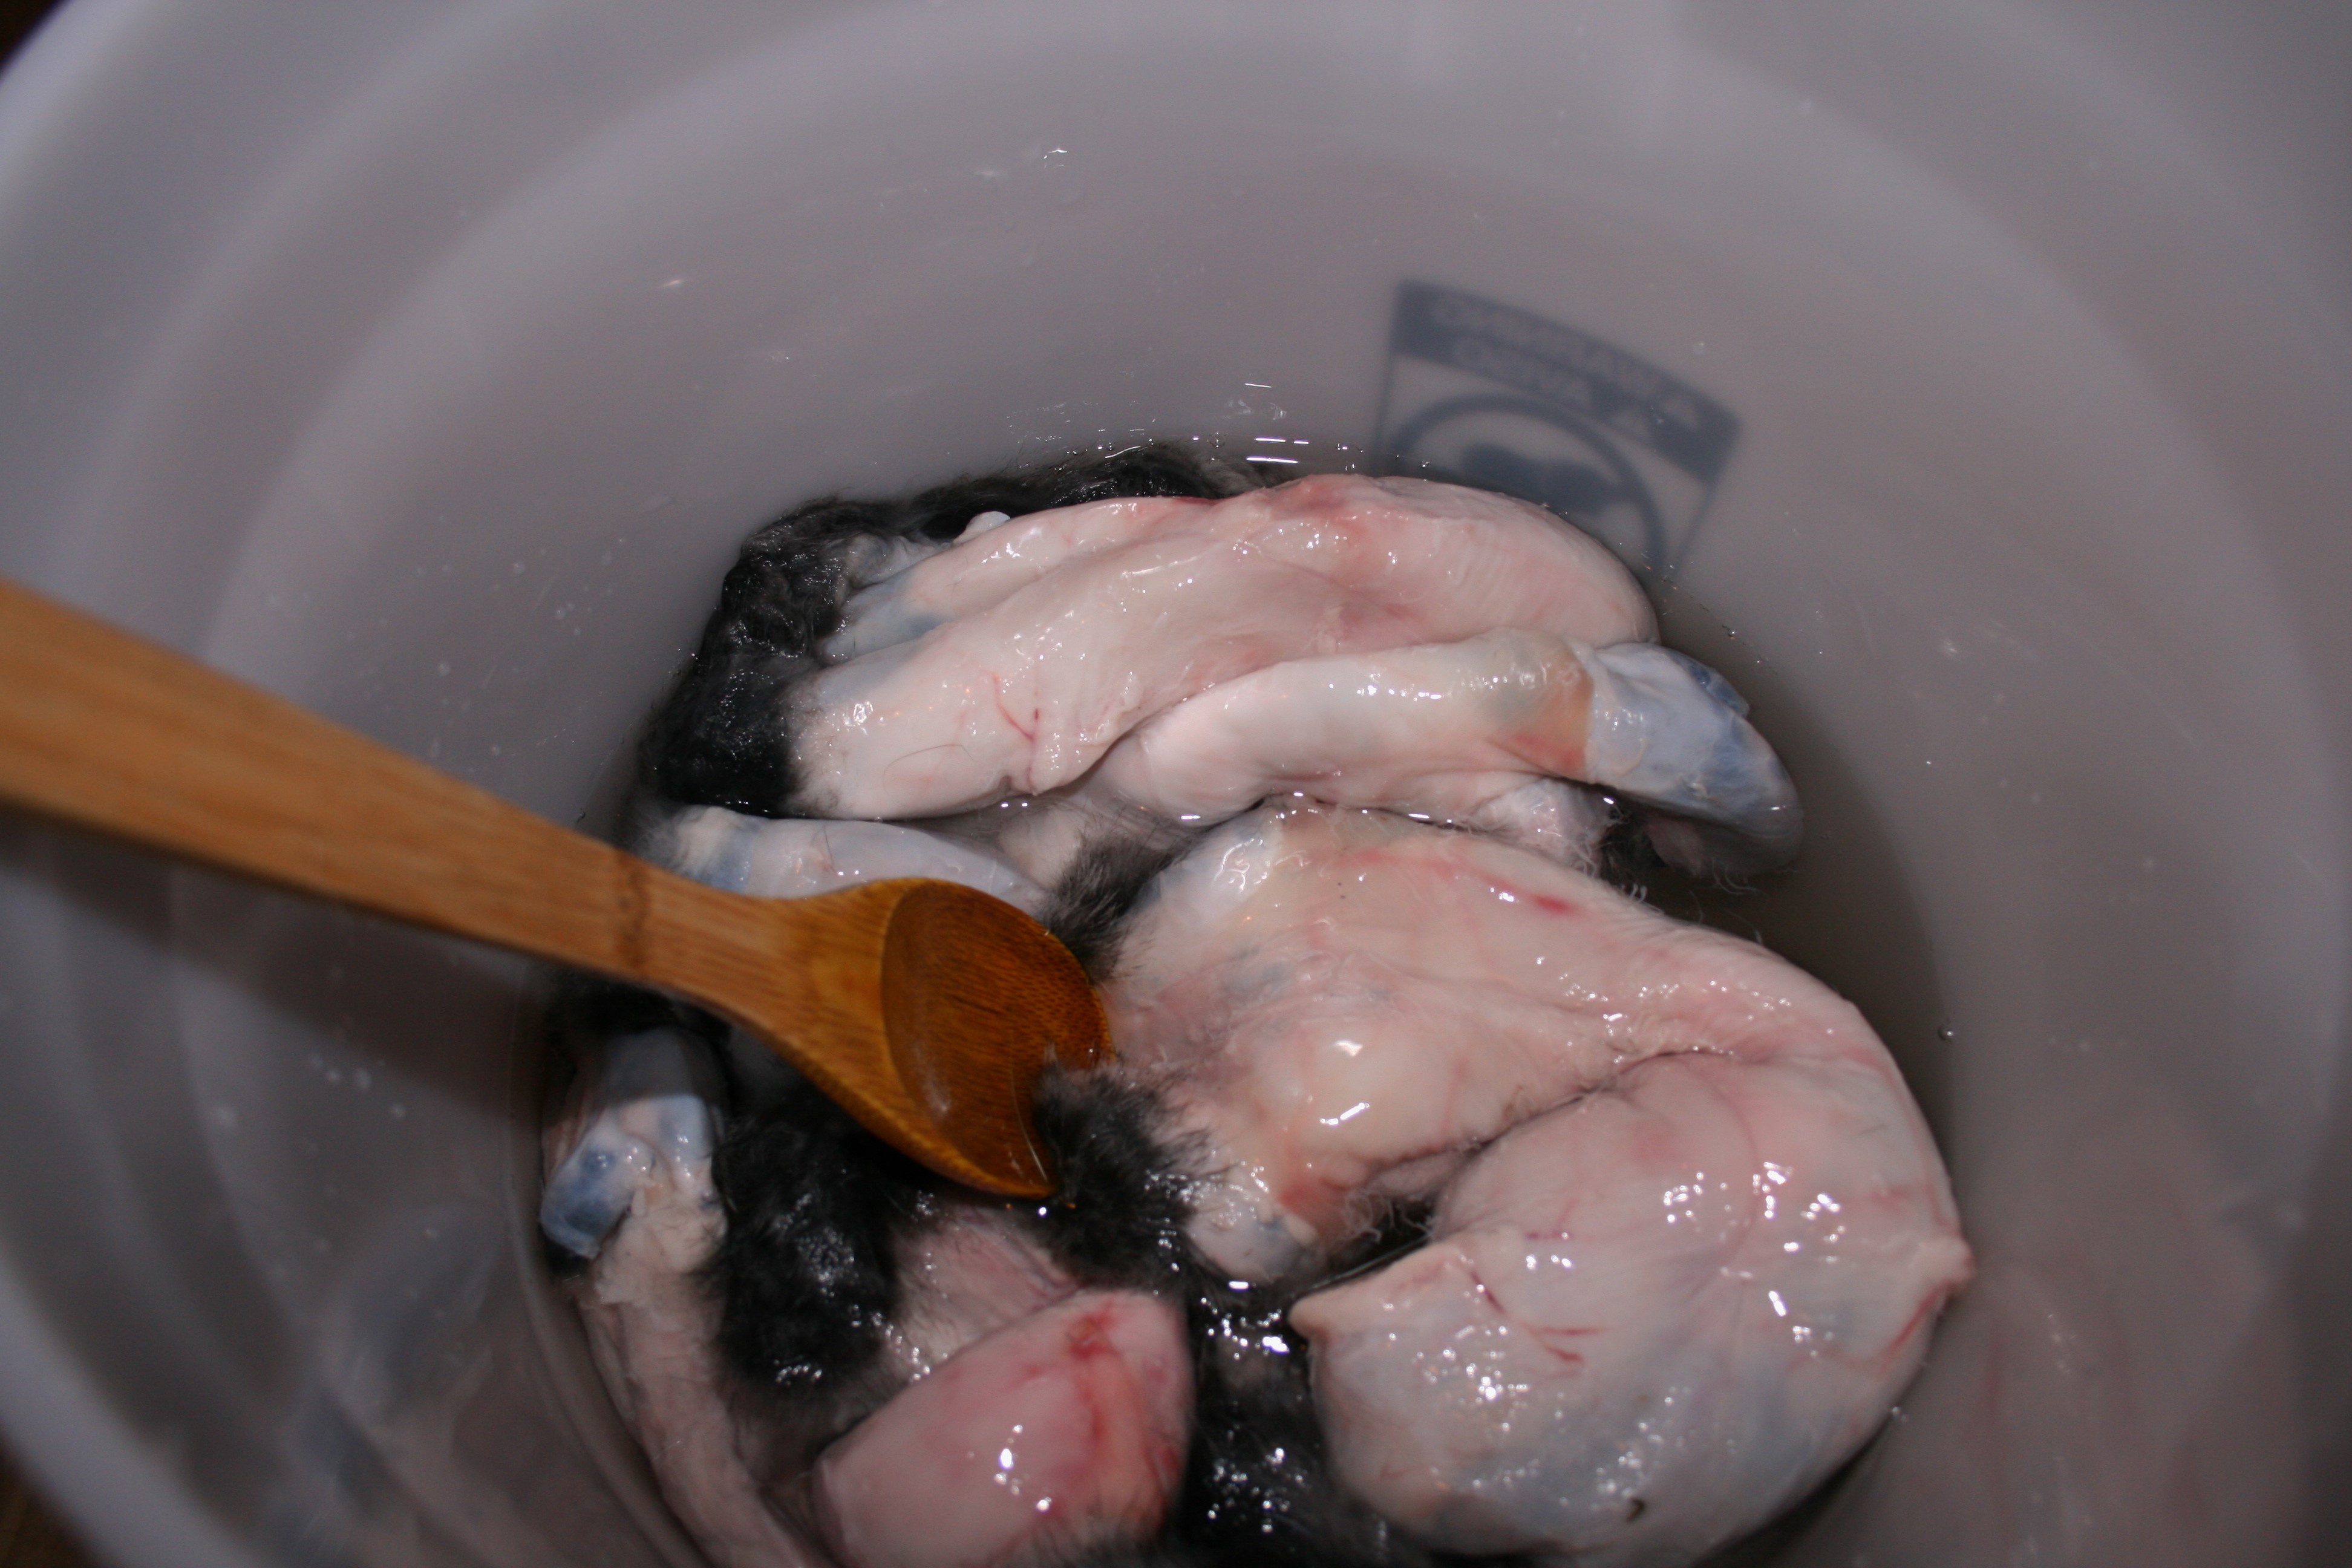
The moment finally came to pull one of those suspicious-looking bags out of the freezer and start the first tanning experiment last week. I followed the directions in this article (M is helping too), starting off with four hides. The hides are now part-way through the process, which in condensed form includes the following steps:
- Soak washed hides in a water/aluminum sulfate/salt mixture for two days.
- Soak washed hide/separate (or “flesh”) tissue layer from the actual skin.
- Rinse and put hides back in the original mixture with additional aluminum sulfate and salt for approximately one week.
- Check to see if done.
- When done, wash and partially dry the hides.
- “Break the skin” or work the partially dried hide with your hands by pulling and working small sections.
We are currently on step 3, so I can’t vouch for the article, but I can say that the process seems relatively clear and simple so far. But does it work? Time will tell.
On Saturday we fleshed the hides which was a little tricky. M and I ended up using different tactics to remove the tissue. I held the whole skin in my hand and tried to peel of as much as I could in one go and picked at the rest. M laid his flat on a table and used a rock hide scraper to flesh a couple. Both methods seemed to work relatively well, although I think M was having fun using a tool that would have been traditional used by Native Americans. After fleshing, the hides are looking more like tanned hides, which I take as a good sign. I can’t wait to see if the whole process works!


Upcoming blog posts:
- An update on the tanning process.
- An anecdote or two about our journey to the East where we had many an adventure and saw a lot of inspiring farms along the way.
