When M and I left on a two week adventure last month we were able to leave Jimmy and Socorro, our pair of American Chinchilla rabbits, at my friend’s house. Elizabeth has been my best friend since freshman year of our sub-par high school. Thank goodness we had each other. Throughout the years, Elizabeth has pretty much been the best. Moral support and moving support–only the best of friends help you move more than once. And now…rabbit support. Elizabeth’s partner built something of a rabbit hotel on what has become their little urban family farm/garden (garm? farden?). The hotel is pretty awesome as you can see from the photos below. The design allows for removable dividers and a bunny stacking. And lucky for me, the bunny hotel had a vacancy and my generous friends took our two charges on for two weeks. Seriously, these folks are the best friends.


All went well with the hotel stay, until about a week and a half ago when I got a message from Elizabeth telling me about a little hiccup in the room arrangements. Her partner, she found out, may have let our two buns in the same space together for a minute or so in order to do a little cleaning. The tricky thing is, rabbits do tend to breed like rabbits. It takes about 10 seconds. However, I didn’t know if anything had come of this little snafu. I thought that, as this possible encounter had taken place the day after they were dropped off, the rabbits might have been a little too shell-shocked to…do what rabbits do best (and I don’t mean poop everywhere).
By the time last week came around, I was pretty certain Socorro was not pregnant. In her two past pregnancies she started nesting well over a week before the birth. Now she showed no signs of wanting to build a nest. Then, on the day I thought she could possibly be due, I got a message from M at home. Socorro was trying to nest. Of course. Luckily, M was home and he rushed a nestbox into Socorro’s cage and gave her lots of soft hay to work with. She went to work like a lady on a mission. A nest was made by evening. The next morning any doubts about her condition were erased. Surprise! Socorro had filled the nest with her fur and I counted nine little chubby balls of bun curled up in their soft bed. All warm, full, and happy. That Socorro is such a good mama.

The only reason I had not bred Socorro myself was that we are in rental-purgatory right now. The owner of our rental put the house on the market about two months ago and we don’t know if we’ll have to move in the near future or not. Best case scenario for us is that the house does not sell and we can at least continue renting through the spring. But who knows! Gosh, I suppose not having a mortgage is nice, but I can’t wait for the day when we have a farm that we can truly call our own.
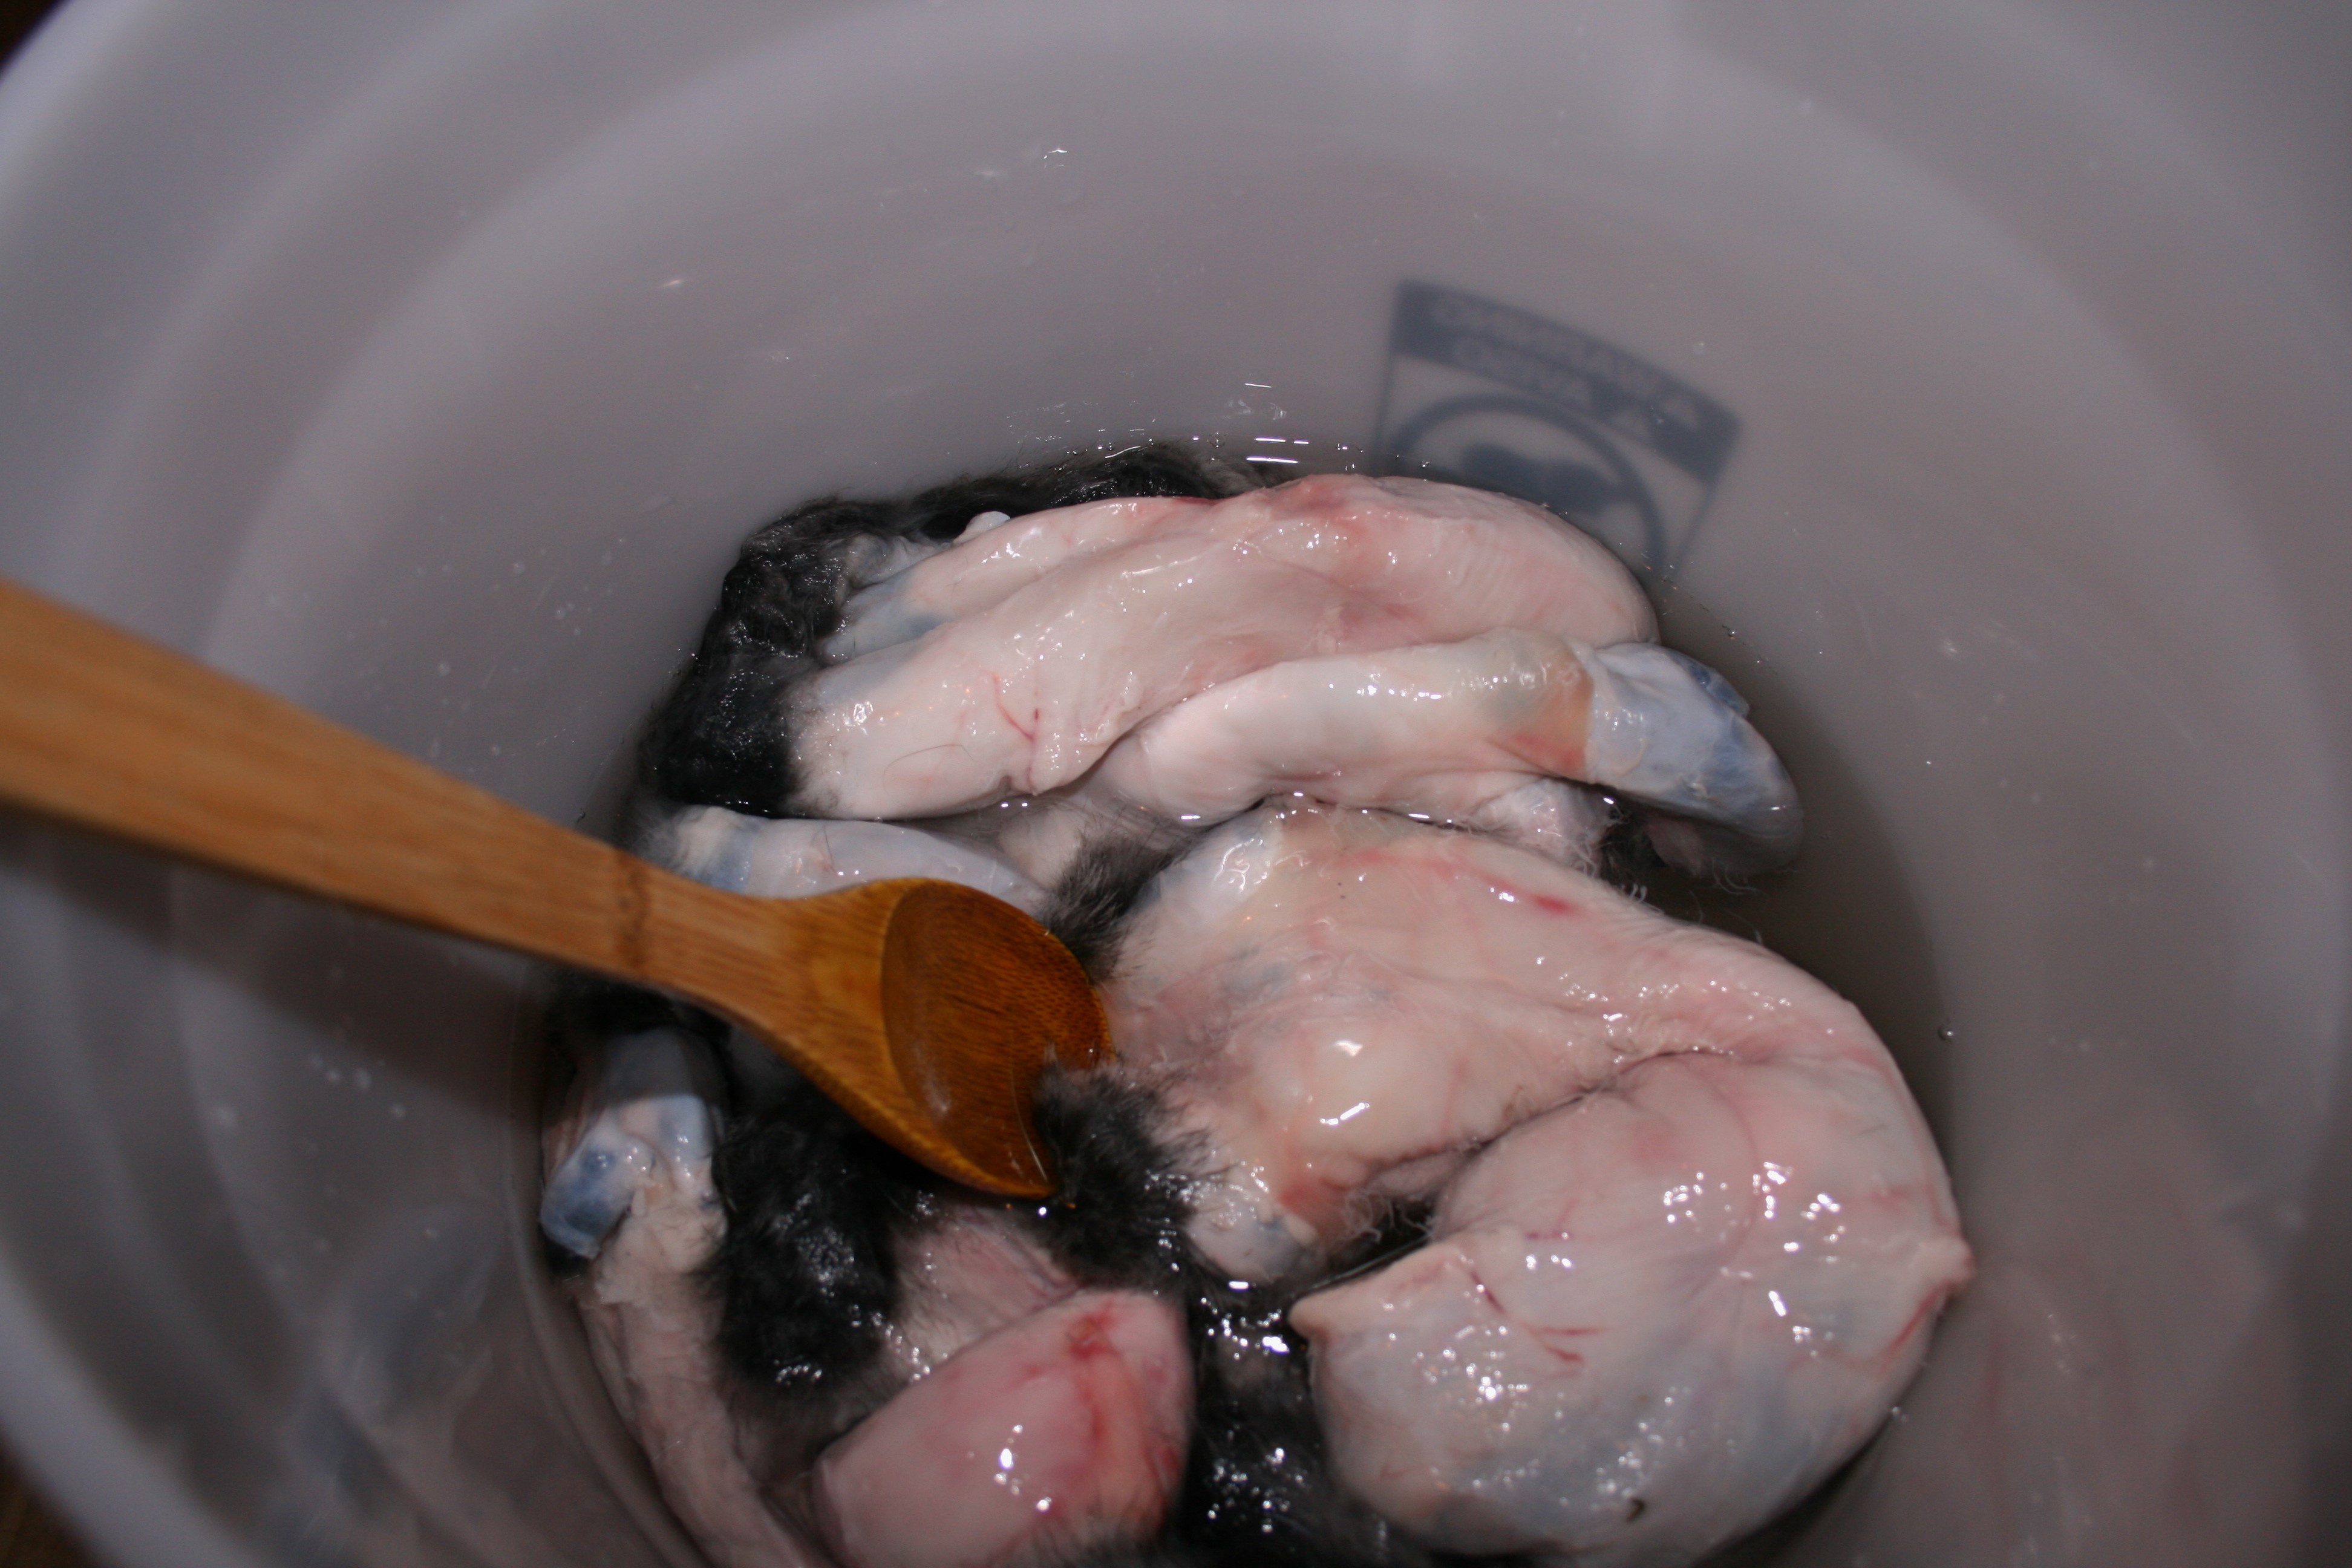
Oh, and those hides? They’re a mixed bag. Two turned out fairly nicely and I have images of fur brimmed knit-wool hats flitting around my head–maybe we’ll have a winter this year? Two are a little oddly shaped and the fur got a little matted, but I suspect we can find a use for all of them. The lessons learned from this first round of tanning are 1) don’t scrape too much off the hides 2) be very careful when you actually have to wash them; apparently rabbit fur will mat.